Tuesday, July 11, 2006
Thursday, June 29, 2006
How to Change the Locations of Program Files and Documents and Settings During Windows XP Installation
INCOMPLETE COME BACK LATER
If you would like to change the location of Documents and Settings and Program Files during the windows setup, there is a very simple way to do this. You will have to put a file into the I386 directory of the CD which will tell the installer options that are not available through the GUI. This howto will cover copying to the hard drive and modifying the Windows CD and preparing it to be burned again for use.
Copy the Files to your Hard Drive
 The first thing to do is to copy all the files you need to your hard drive. Make a new folder somewhere and open it. I will choose C:\XPCD but if you want to put it somewhere else you may.

Now put the Windows XP CD into your drive and open My Computer. Once the computer detects the CD, right click the drive and press open. Now drag and everything from the CD into the XPCD folder.
Creating the Answer File
You will now have to create a file that will instruct the Windows XP installer on what to do. To do this, open the folder SUPPORT and then TOOLS in your XPCD folder. Then open DEPLOY.cab and run setupmgr.exe.
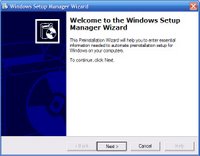
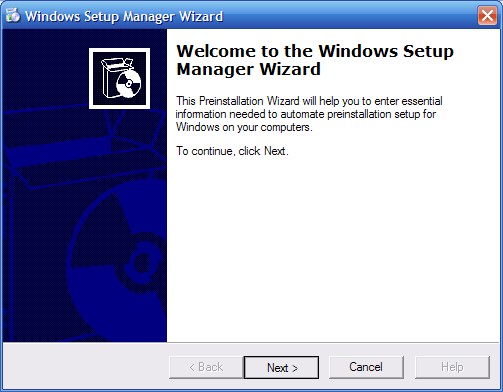
 Press next on the first, second, and third screens and on the fourth select Home or Professional depending on your CD. Press next on the fifth screen and on the sixth screen select "No, this answer file will be used to install from a CD". After the wizard is complete you will have a window that looks like this.
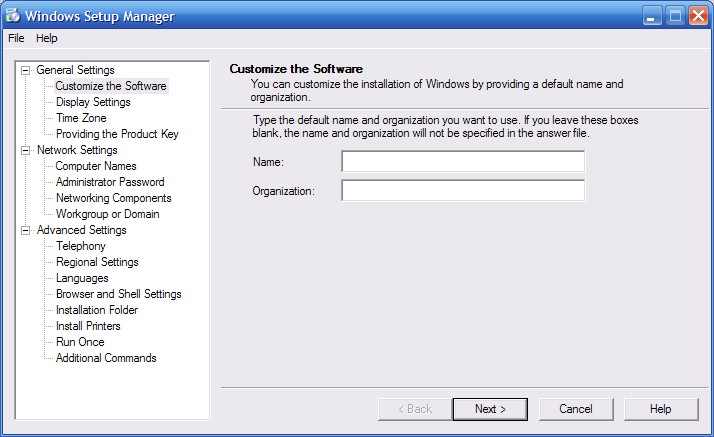
 Fill in any information you want. If there is something you don't understand leave it blank. When you press finnish you will get a new window asking where to save the answer file. Browse to your XPCD folder and save it as WINNT.txt and close the wizard.
Changing the Install Locations for Documents and Settings and Program Files
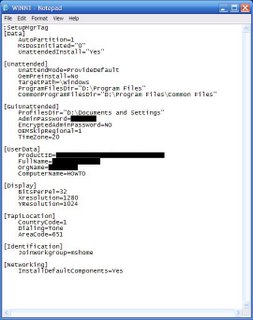
Now because the wizard did not ask where to put them, you will have to do it yourself by opening the WINNT file you just created with notepad. To change the location of Program Files add these two lines under [Unattended] and change the location to where you want it.
ProgramFilesDir="D:\Program Files"
CommonProgramFilesDir="D:\Program Files\Common Files"
To change the location of Documents and settings add the following line under [GuiUnattended] and change the location to where you want it.
ProfilesDir="D:\Documents and Settings"
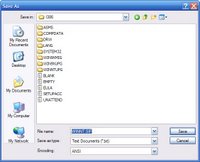 Once you have change it to your liking, press File and choose Save As and open the I386 folder. Now change the name to WINNT.SIF and click Save. You may then close notepad.
Creating the CD Image
You now need to create the CD Image to be burned. You may download the tool required CDIMAGE GUI from here. Once downloaded, open it and extract it to C:PICTURE8
If you would like to change the location of Documents and Settings and Program Files during the windows setup, there is a very simple way to do this. You will have to put a file into the I386 directory of the CD which will tell the installer options that are not available through the GUI. This howto will cover copying to the hard drive and modifying the Windows CD and preparing it to be burned again for use.
Copy the Files to your Hard Drive
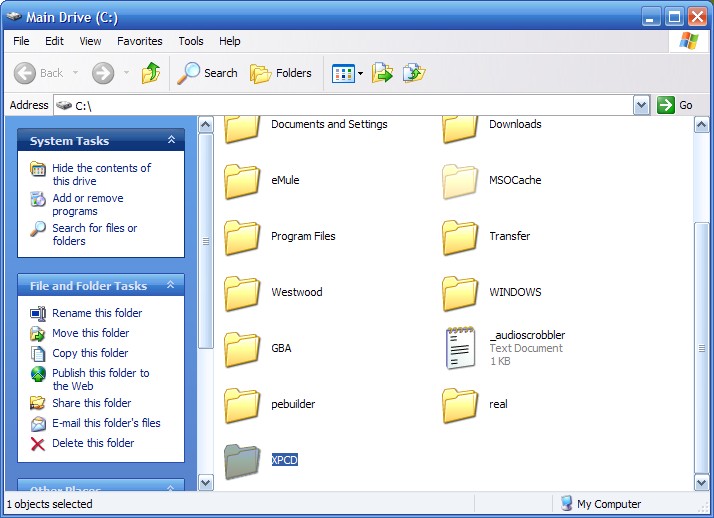 The first thing to do is to copy all the files you need to your hard drive. Make a new folder somewhere and open it. I will choose C:\XPCD but if you want to put it somewhere else you may.
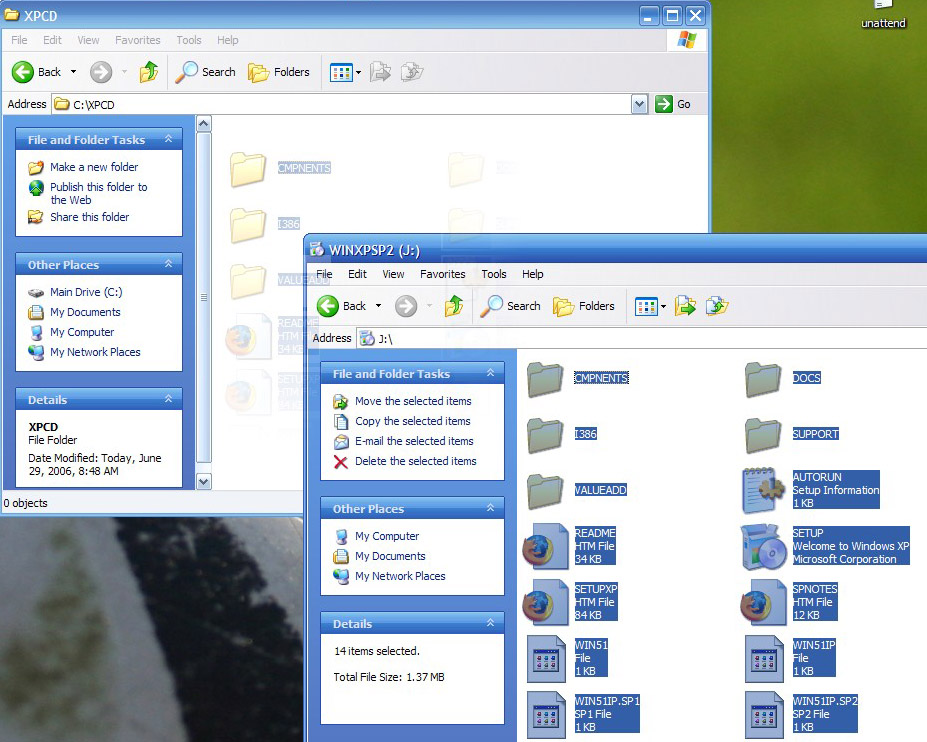
Now put the Windows XP CD into your drive and open My Computer. Once the computer detects the CD, right click the drive and press open. Now drag and everything from the CD into the XPCD folder.
Creating the Answer File
You will now have to create a file that will instruct the Windows XP installer on what to do. To do this, open the folder SUPPORT and then TOOLS in your XPCD folder. Then open DEPLOY.cab and run setupmgr.exe.
 Press next on the first, second, and third screens and on the fourth select Home or Professional depending on your CD. Press next on the fifth screen and on the sixth screen select "No, this answer file will be used to install from a CD". After the wizard is complete you will have a window that looks like this.
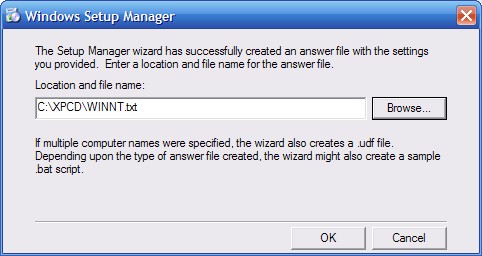 Fill in any information you want. If there is something you don't understand leave it blank. When you press finnish you will get a new window asking where to save the answer file. Browse to your XPCD folder and save it as WINNT.txt and close the wizard.
Changing the Install Locations for Documents and Settings and Program Files
Now because the wizard did not ask where to put them, you will have to do it yourself by opening the WINNT file you just created with notepad. To change the location of Program Files add these two lines under [Unattended] and change the location to where you want it.
ProgramFilesDir="D:\Program Files"
CommonProgramFilesDir="D:\Program Files\Common Files"
To change the location of Documents and settings add the following line under [GuiUnattended] and change the location to where you want it.
ProfilesDir="D:\Documents and Settings"

 Once you have change it to your liking, press File and choose Save As and open the I386 folder. Now change the name to WINNT.SIF and click Save. You may then close notepad.
Creating the CD Image
You now need to create the CD Image to be burned. You may download the tool required CDIMAGE GUI from here. Once downloaded, open it and extract it to C:PICTURE8
Wednesday, June 28, 2006
Subscribe to:
Posts (Atom)